Build jobs are at the heart of Jenkins. These days GitHub has become an excellent choice for keeping source code repositories due to its features. In this blog post, we’ll cover steps required to build a GitHub project using Jenkins.
To start with, login into Jenkins admin console and go to Manage Jenkins -> Manage Plugins -> Available and then search for GitHub Plugin:
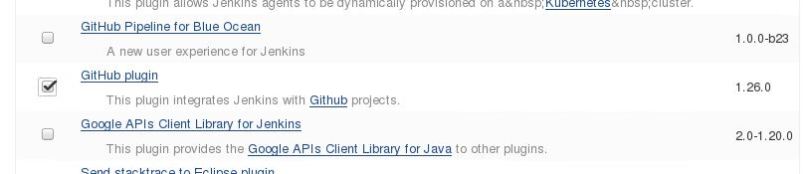
This may install other dependent plugins required for it to work, if they are not already installed.
After this, let’s create a new job by clicking new item in the left pane in Dashboard and name it as ‘first github job’:
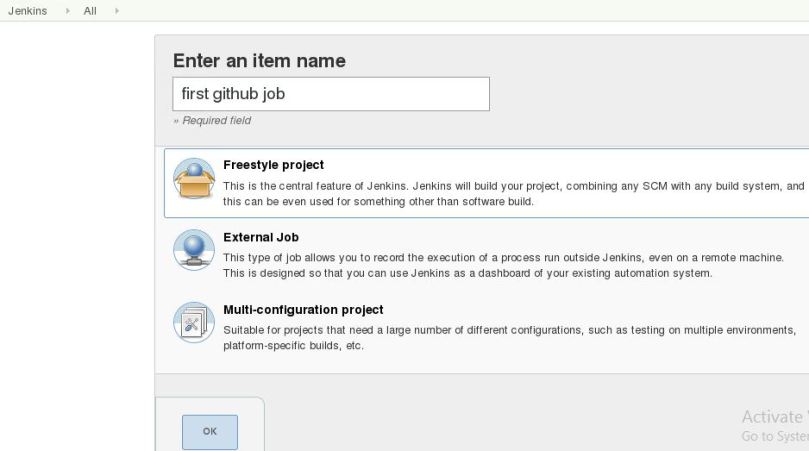
You can give any name you want and click ok. Again, we would select ‘Freestyle project’ as it allows us a lot of flexibility.
Once the job is created, Select GitHub project under general tab and enter repository url:

(for our case, it would be https://github.com/copy/life which is a sample repository for source code). Now its time to tell jenkins, where to find the source code.
In the Source Code Management Section, define the GitHub Url for source code:
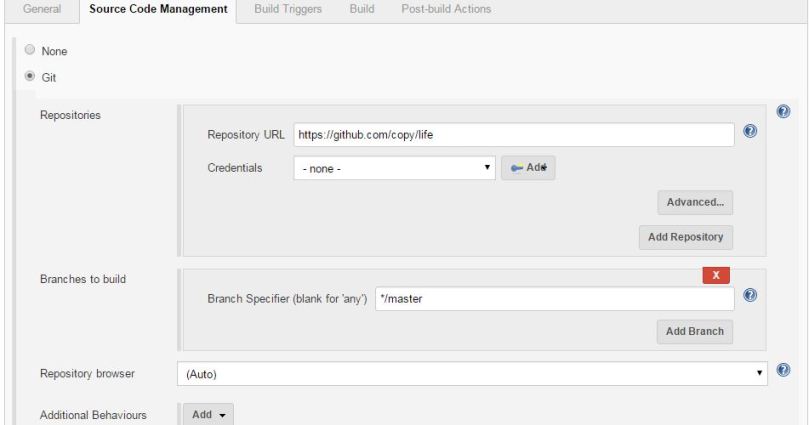
Since this is a public repository, we need not worry about authentication. For private source code repositories, the general practice is to configure authentication using keys, which is more secure than using username and password combination.
Once you have told Jenkins where to find the source code, you need to tell it how often it should check for updates. One would want Jenkins to monitor the repository and start a build whenever any changes have been committed. This is a common way to set up a build job in a Continuous Integration context, as it provides fast feedback if the build fails. Other approaches include building on regular intervals (for example, once a day), requiring a user to kick of the build manually, or even triggering a build remotely using a “post-commit” hook in your SCM.
For our case, pick the Poll SCM option and enter “H * * * *” in the Schedule box. This would mean that it would poll said repository every hour:
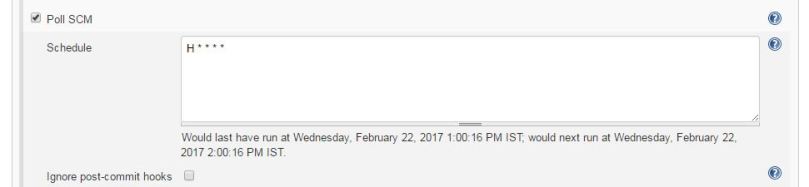
Jenkins schedules are configured using the slight variation of cron syntax, well-known in the Unix world. The cron syntax consists of five fields separated by white space, indicating respectively the minute (0–59), hour (0–23), day of the month (1–31), month (1–12) and the day of the week (0–7, with 0 and 7 being Sunday). The star is a wildcard character which accepts any valid value for that field.
The next step is to configure the actual build itself. In a freestyle build job, you can break down your build job into a number of build steps. This makes it easier to organize builds in clean, separate stages. For example, a build might run a suite of functional tests in one step, and then tag the build in a second step if all of the functional tests succeed. In technical terms, a build step might involve invoking an Ant task or a Maven target, or running a shell script. There are also Jenkins plugins that let you use additional types of build steps: Gant, Grails, Gradle, Rake, Ruby, MSBuild and many other build tools are all supported.
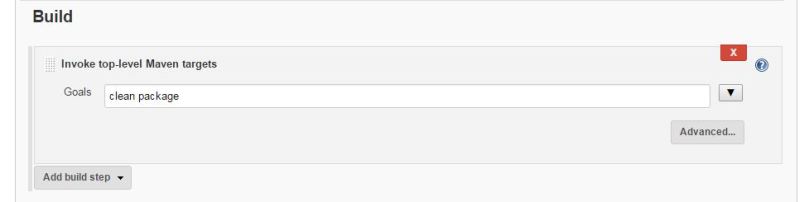
For now, we just want to run a simple Maven build. Scroll down to the Build section and click on the “Add build step” and choose “Invoke top-level Maven targets” (see Figure 2.17, “Adding a build step”). Then enter “clean package” in the Goals field. If you are not familiar with Maven, this will delete any previous build artifacts, compile our code, run our unit tests, and generate a JAR file.
By default, this build job will fail if the code does not compile or if any of the unit tests fail. That’s the most fundamental thing that you’d expect of any build server. Let’s go ahead and build our job.

[…] one of the previous blog post, we have discovered how to build GitHub project using Jenkins. In that post, since it was a public repository, we did not tried to authenticate to GitHub. Here, […]
LikeLike
[…] https://mohitgoyal.co/2017/02/22/build-github-project-using-jenkins/ […]
LikeLike
i had done the same steps but result shows me
1.The recommended git tool is: NONE
2. > /usr/bin/git init /home/ec2-user/jenkins/workspace/ec2-git-maven # timeout=10
ERROR: Error cloning remote repo ‘origin’
LikeLike